I want to show you how you can leverage Google Slides to quickly generate graphic props for your content.
I stumbled on this technique while I was looking for ways to generate WordPress featured images on the fly, but I learned quick that this would be helpful to youtubers, podcasters, and others.
The Premise
The idea for this technique is to collect or develop a large number of slide templates in a Google Slide Deck, input a title and subtitle somewhere in an Google Sheet, and have every template in the slideshow populate the title and subtitle in the appropriate place and then choose the slide variation we like best to export as an image.
Use Cases
In the right hands, with the right approach, this technique could prove pretty powerful. I could imagine have several slide decks for different styled use cases, all with company branding.
Here’s a couple of example use-cases I could imagine off the top of my head:
- WordPress Featured Images (how I’m using it in this article example)
- Miscellaneous Content Prop Images (charts, step flows, etc)
- Podcast Episode Banners
- YouTube Video Thumbnails
- more, etc.
Getting started
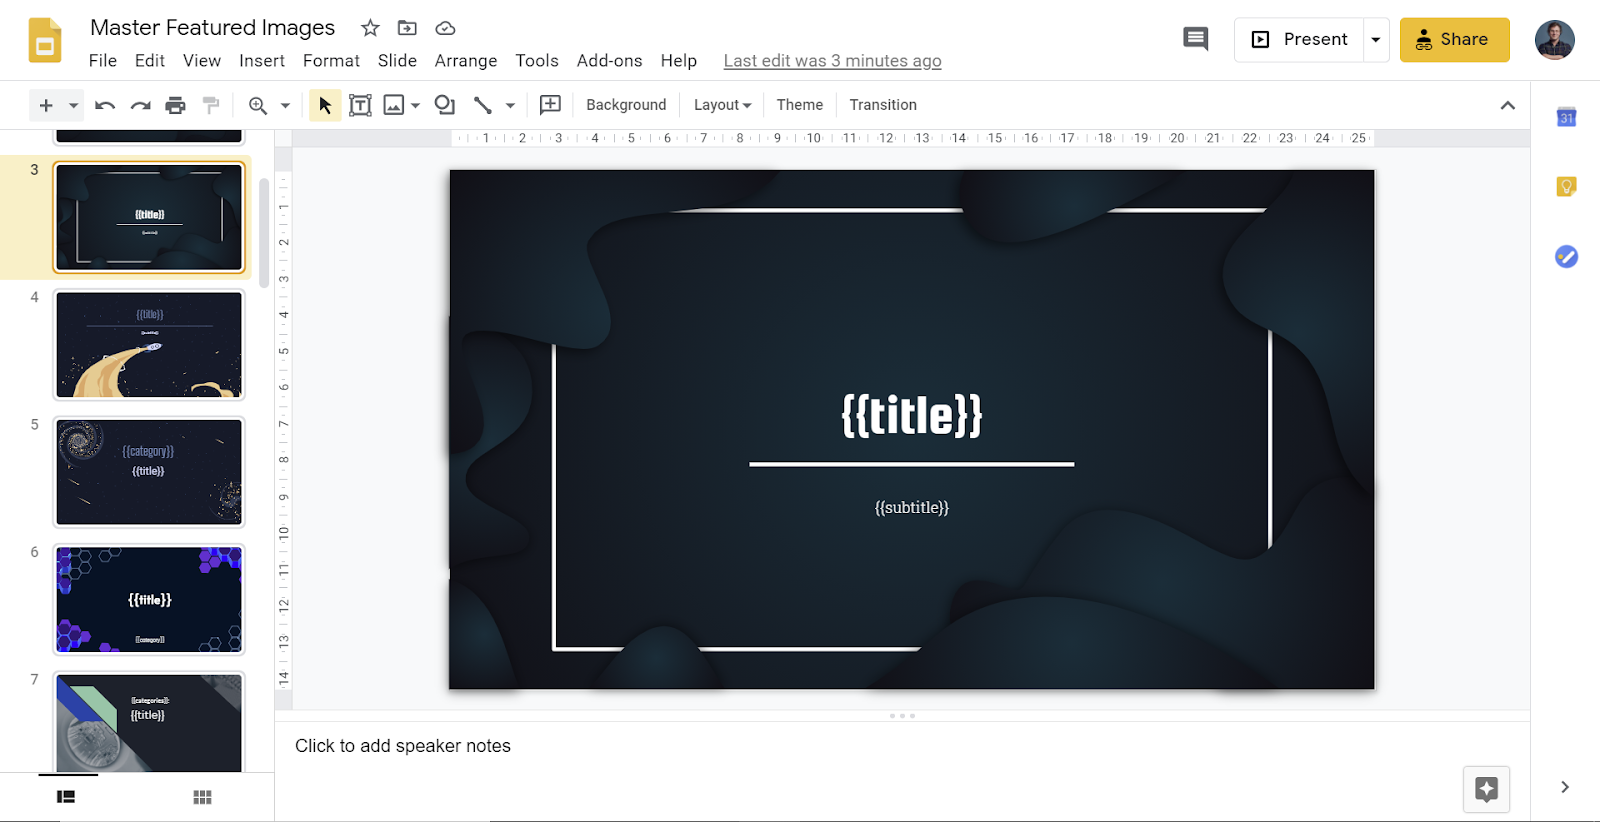
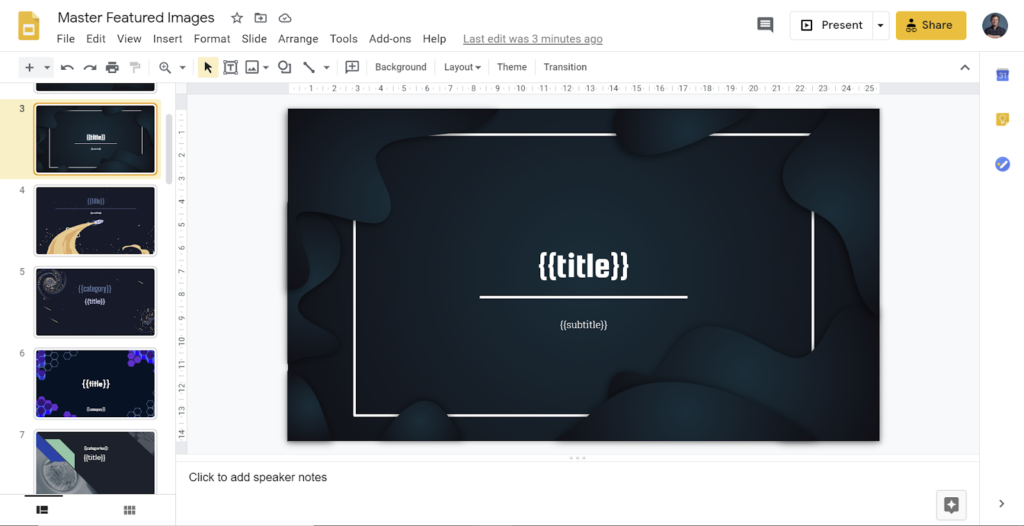
The first thing I did to make this system workable was to create a Master Slide Deck of title pages from different slide decks available on the internet. I found the website SlidesGo.com offered a lot of great free slideshow templates that I could use.
Then I replaced all the titles and subtitles of every slide with a {{title}} token, a {{subtitle}} token. I also sprinkled in some {{category}} tokens and {{excerpt}} tokens too.

Next I created a simple Google Sheet where I would be able to dynamically change the title and subtitle I would use to generate slides.

Then I had to write Google Apps Scripts Code to import content from this Google Sheet and replace the slide content within the Slide Deck with my values.
Turns out Google has their own scripting language called Apps Script to help you do really cool things like cycle through slides and change slide content.
When I click Tools->Script Editor inside the Slide Deck a new tab opens up and we can add code. Here’s a link to the code snippet we use in this example, but for presentation purposes, I’m just going to show a screenshot of the code in the script editor here:

There’s no need to run this code yet…
In fact, before you run the code above, you’re definitely going to want to clone the slide deck first and work inside your cloned copy when generating images.
Generating the images / Running the script
Now that you have your master slide deck created and cloned and your Google Sheet template open a ready, you can begin autogenerating images.
Head into your Google Sheet and set the title, subtitle, category and excerpt cells to whatever you would like them to be.

Now head back into the copy of your master slide deck that you created for this round of image generation and open Tools->Script Editor and run the script.
It might say it failed. If that is the case, try again. Usually the second run works.
While it is running it will prompt us to allow this script to connect to our Slide Deck. When it does, review and accept the permissions.
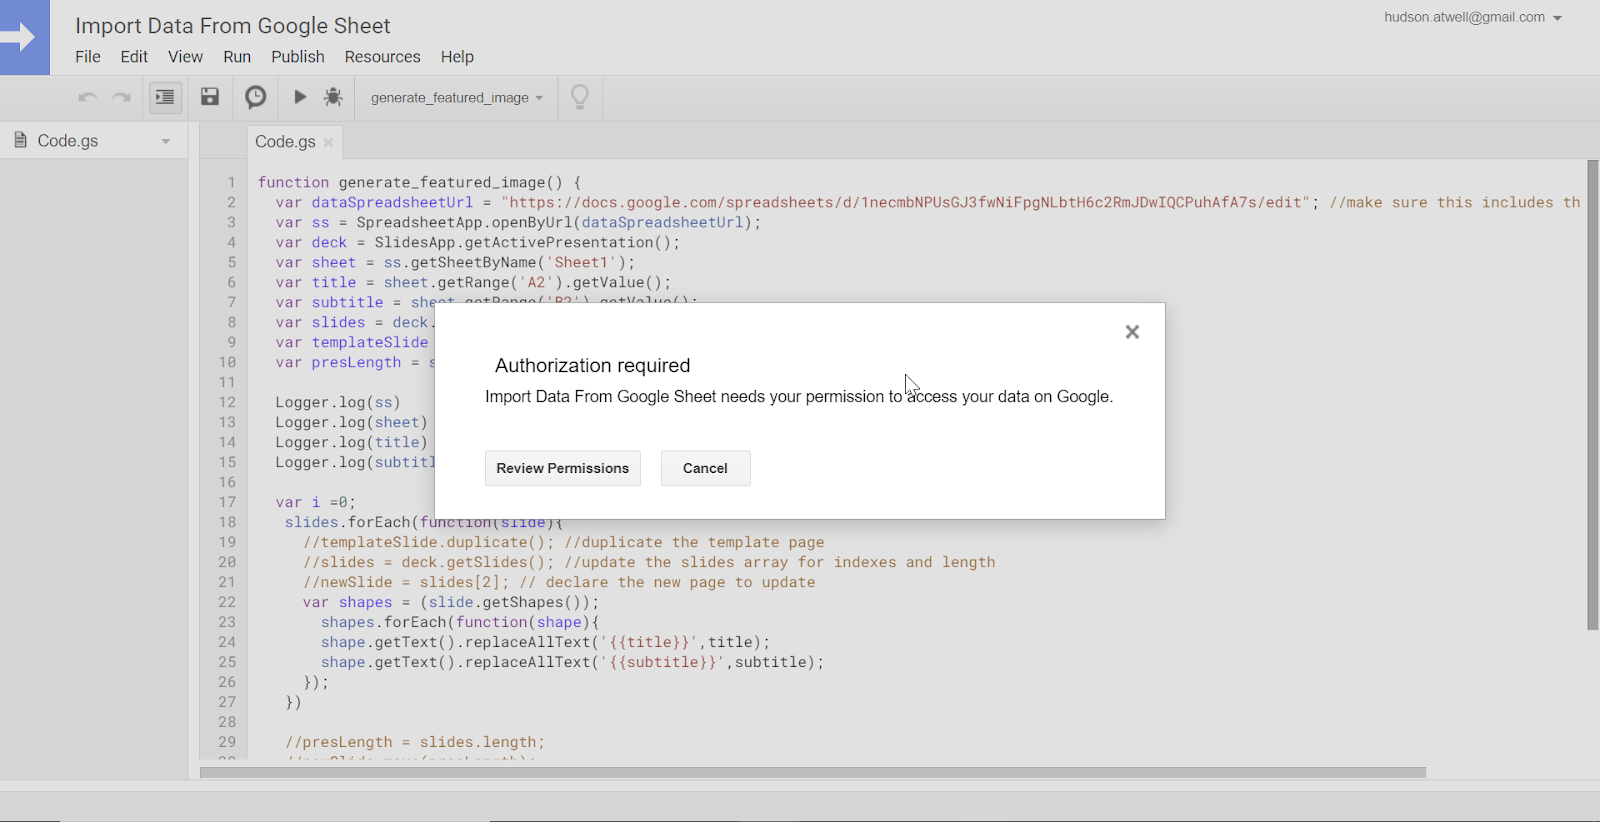
Review Permissions and follow the dialog to completion. Once you’ve confirmed access, the code should run immediately and alert you once it’s completed.
Now comes the moment of truth!
Your open Slide Deck should now display the titles and subtitles you inputted into your Google Sheet rather than the {{title}} and {{subtitle}} tokens that were on every slide before.
If all went well you will now have a library of amazing variations to choose from, each one convertible into an image.

Exporting the images
Inside the Slide Deck, select the generated slide you would like to export then go to File->Download-> and then choose the file type you would like to export the slide as.
They offer JPG, PNG, and SVG. I really recommend downloading as SVG because the end-result is vector quality.
For my case, since I was going to upload these images to WordPress, I had to install a plugin (Safe SVG) to allow the SVG format uploadable into my media library.
I’ll go ahead and upload a version of the SVG first and then the PNG and JPG so you can compare the quality and the filesize.


And that is the end of this skillset article ????
I hope you enjoyed it and learned something new!
Ps. There may be solutions out there that are better than this that I have not found yet… If you know of a SAAS, plugin, or application that does the above better, please share them below in the comments.
Some of the featured image plugins I found were really good, but none of them created a library of templates and let you choose from the best looking one. Open market if someone is listening. Or a goal for someone who is already established in the market.
The featured images I generated for this site with the example slide deck didn’t really look good on my blog because the post title HTML was overlaying the post featured image in card view on the homepage. It was like staring at the title twice and I wasn’t a fan. But I bet I could do a round 2 with slide building for better results. This time I would toggle a slide shape’s weight/opacity and position titles better. Or add svg icons and lower the opacity. Possibly I could have an svg icon for every category.